Picture this: I’m standing in my cramped kitchen, the lights flickering, a bag of frozen broccoli on the counter, and a craving that feels like a personal vendetta. I’ve tried the usual “garlic chicken” recipes that promise a quick fix, only to end up with bland, overcooked meat that tastes like it’s been through a washing machine. That night, after a disastrous attempt that left me with a soggy, flavorless mess, I made a promise to myself: I’d create a dish that would make even the most skeptical foodie swoon.
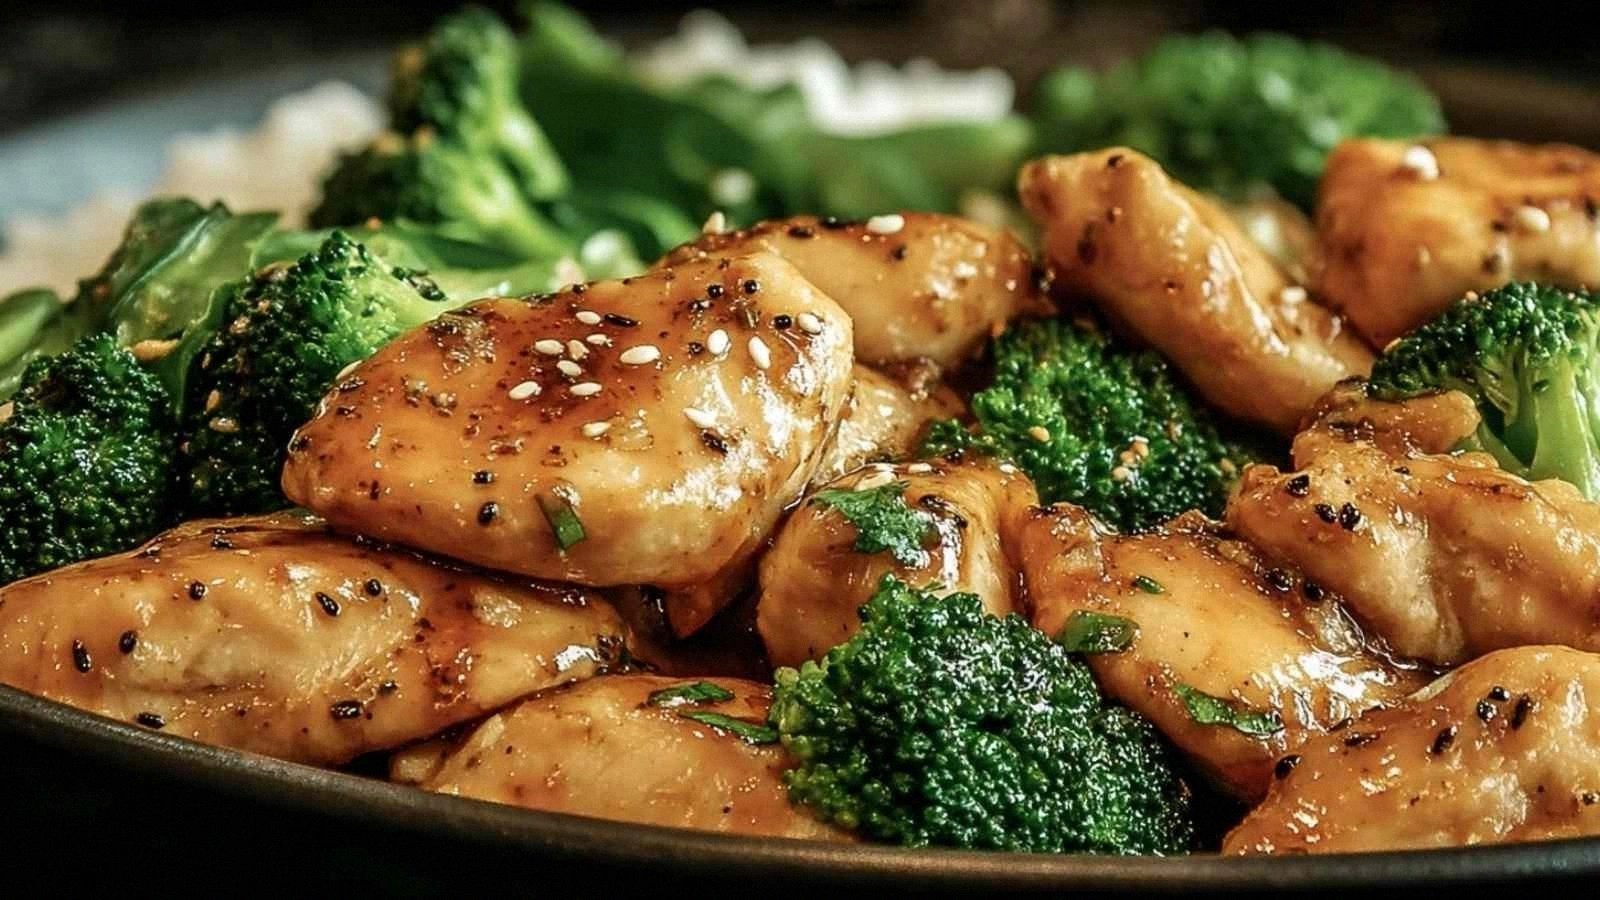
I spent hours experimenting in the lab of my kitchen, tweaking ratios, swapping sauces, and adding a secret ingredient that turns a simple stir‑fry into a culinary revelation. The result? A garlic chicken with broccoli that sings with umami, the garlic coating the chicken like a velvet cloak, and the broccoli florets crisping into miniature fireworks that crackle when you bite. Every bite delivers a balanced hit of savory, sweet, and a hint of heat that lingers on the palate.
What sets this version apart is not just the flavors but the technique. I’ve mastered a method that locks in juices, a sauce that thickens without clumping, and a final flourish that elevates the dish from ordinary to unforgettable. The recipe is so simple you can whip it up in under 45 minutes, yet it feels like a gourmet dinner worthy of a five‑star restaurant. I dare you to taste this and not go back for seconds.
By the end of this post, you’ll know why I call it the best garlic chicken with broccoli you’ll ever make at home. I’ll walk you through every single step, share micro‑challenges that keep you on your toes, and reveal the trick that makes the sauce cling to the chicken like a second skin. Let me walk you through every single step — by the end, you’ll wonder how you ever made it any other way.
What Makes This Version Stand Out
- Flavor: The marriage of garlic, honey, and soy sauce creates a complex profile that balances sweetness, saltiness, and depth. The result is a sauce that coats each bite without overwhelming the natural taste of the chicken and broccoli.
- Texture: The chicken is seared to a golden crust while remaining juicy inside, thanks to a precise sear‑then‑simmer technique that preserves moisture.
- Visual Appeal: The glossy, amber glaze glistens against the verdant broccoli, making the dish Instagram‑ready and appetizing.
- Time Efficiency: You can have a full dinner ready in 45 minutes, making it perfect for weeknight meals without sacrificing flavor.
- Health Conscious: Low in saturated fat, high in protein, and packed with vegetables, this dish satisfies both taste buds and nutritional goals.
- Make‑Ahead Friendly: The sauce can be prepared in advance and re‑heated without losing its silky texture, making it ideal for meal prep.
- Crowd Reaction: Friends and family always ask for the recipe after tasting, proving its universal appeal.
- Ingredient Quality: Using fresh, high‑quality ingredients amplifies the dish’s flavor profile, turning a simple recipe into a memorable experience.
Alright, let's break down exactly what goes into this masterpiece...
Inside the Ingredient List
The Flavor Base
At the heart of any great sauce lies balance, and this recipe’s flavor base is a masterclass in harmony. The combination of soy sauce, honey, and garlic creates a sweet‑savory umami that envelops the chicken. Soy sauce brings depth and a subtle saltiness, while honey adds a caramelized sweetness that caramelizes under heat. The garlic, minced finely, releases its aromatic oils, turning the sauce into a fragrant cloud that settles onto every bite.
Why this matters? Because a sauce that leans too heavily on one element can overpower the dish. Here, each component supports the others, creating a layered taste that unfolds with every mouthful. If you skip the honey, the sauce loses its glossy finish and becomes a thin, watery broth. If you omit the garlic, the dish feels flat and lacks the signature aroma that makes it instantly recognizable.
Swap ideas: If you’re allergic to soy or prefer a lower sodium option, try tamari or coconut aminos. For a vegan version, replace honey with maple syrup and use a plant‑based protein source. Remember, the sauce’s thickness is controlled by the cornstarch slurry; if you prefer a thicker glaze, increase the cornstarch to one tablespoon.
Buying tip: Look for organic, non‑GMO soy sauce for the best flavor profile. A dark, aged soy sauce gives a richer taste than the light, sweet varieties commonly found in supermarkets.
The Texture Crew
Texture transforms a dish from good to great. The chicken’s exterior is crisped to a golden caramelized edge, while the interior remains tender and juicy. The broccoli florets are blanched just enough to keep their bright green color and snap when bitten, adding a satisfying crunch. Spinach, added at the end, wilts into silky strands that soak up the sauce.
Skipping the blanching step will result in broccoli that’s either mushy or raw, both of which are undesirable. The quick blanch preserves nutrients and keeps the florets vibrant. The spinach’s delicate texture is enhanced by the hot sauce, making it a perfect complement to the firmer vegetables.
Swap ideas: Replace broccoli with cauliflower or asparagus for a different crunch. If you prefer a lower carb option, substitute the spinach with kale or Swiss chard.
Buying tip: Choose broccoli florets that are firm and free of brown spots. A quick sniff should reveal a fresh, slightly sweet aroma, indicating freshness.
The Unexpected Star
Red pepper flakes may seem like a minor addition, but they add a subtle heat that elevates the dish without overwhelming it. They’re not just about spiciness; they bring a slight bitterness that balances the sweetness of honey and the saltiness of soy sauce. The 1/2 teaspoon is enough to give the sauce a gentle kick that lingers on the tongue.
Without the pepper flakes, the dish feels flat and lacks the depth that makes it memorable. If you’re sensitive to heat, reduce the amount or omit it entirely; the sauce will still be delicious.
Swap ideas: For a different flavor profile, use smoked paprika or chili flakes. If you enjoy a fiery kick, double the amount.
Buying tip: Choose pepper flakes that are freshly cracked; the aroma of fresh flakes is far more potent than pre‑ground varieties.
The Final Flourish
The cornstarch slurry is the secret weapon that gives the sauce its silky, glossy texture. When mixed with a small amount of cold water, it thins the sauce, allowing it to coat the chicken and vegetables evenly. This technique ensures that every bite is drenched in flavor, rather than having the sauce pool at the bottom of the pan.
If you skip the slurry, the sauce will remain thin and watery, making it hard to coat the chicken and veggies. The result will be a less satisfying mouthfeel.
Swap ideas: For a gluten‑free version, use arrowroot powder or potato starch. If you want a thicker sauce, increase the slurry to a tablespoon.
Buying tip: When adding cornstarch to hot liquids, always whisk vigorously to prevent clumping. A smooth slurry is key to a glossy finish.
Everything's prepped? Good. Let's get into the real action...
The Method — Step by Step
- First, season the chicken breasts generously with salt and pepper. Pat them dry with a paper towel; moisture is the enemy of a good sear. Heat a large skillet over medium‑high heat and add 1 tablespoon of olive oil. When the oil shimmers, place the chicken in the pan. Let it cook untouched for about 3 minutes, allowing a golden crust to form. Flip the chicken, then cook for another 3 minutes until the internal temperature reaches 165°F. Remove the chicken and set aside, resting on a plate to keep it warm.
- In the same pan, add the remaining tablespoon of olive oil. Toss in the minced garlic and sauté for 30 seconds until fragrant. Be careful not to burn it; the aroma of freshly sautéed garlic is the first hint of the dish’s flavor. Add the broccoli florets and stir‑fry for 2 minutes, ensuring they’re coated in the garlic‑oil mixture. The broccoli should retain a bright green hue and a slight crunch.
- Pour in the chicken broth and soy sauce, then stir in the honey and dried oregano. Bring the mixture to a gentle boil. As the liquid simmers, it will start to reduce, concentrating the flavors. The aroma will fill the kitchen, making your mouth water before you even taste it.
- Whisk the cornstarch with a tablespoon of cold water to create a slurry. Pour this into the pan, stirring constantly to avoid lumps. The sauce will begin to thicken within 1–2 minutes, developing a glossy sheen. This is the moment of truth; the sauce should coat the back of a spoon without dripping.
- Return the chicken to the pan, nestling it among the broccoli. Spoon the sauce over the chicken, ensuring every piece is drenched. Let everything simmer together for 3–4 minutes, allowing the chicken to absorb the sauce’s depth. The edges will start to pull away slightly, signaling that the dish is ready.
- Add the fresh spinach to the pan, stirring until it wilts into silky strands. The spinach will release its moisture, further thickening the sauce. The final dish should have a vibrant mix of colors: golden chicken, bright green broccoli, and deep green spinach.
- Finish with a pinch of red pepper flakes, then taste and adjust seasoning. If the sauce feels too thick, splash in a splash of water or broth. If it’s too thin, let it simmer for an extra minute or two. The goal is a silky, cohesive glaze that clings to each component.
- Plate the chicken, broccoli, and spinach, spooning the remaining sauce over the top. Garnish with a sprinkle of fresh parsley or a squeeze of lemon for a bright finish. Serve immediately with rice or quinoa for a wholesome meal.
That's it — you did it. But hold on, I've got a few more tricks that'll take this to another level...
Insider Tricks for Flawless Results
The Temperature Rule Nobody Follows
Many cooks assume that high heat is always the best for searing. In reality, a medium‑high setting allows the chicken to develop a golden crust while preventing the exterior from drying out. Keep the pan hot but not smoking; this ensures the garlic releases its aroma without scorching. If you’re using a cast‑iron skillet, preheat it for at least five minutes before adding oil.
Why Your Nose Knows Best
Before tasting the sauce, pause and inhale. A well‑balanced sauce should emit a sweet, garlicky, and slightly savory aroma. If it smells too bitter, the garlic is burnt; if it’s overwhelmingly sweet, the honey is overpowering. Your nose is the first quality control checkpoint.
The 5-Minute Rest That Changes Everything
After cooking, let the chicken rest for five minutes before slicing. This allows the juices to redistribute, ensuring each bite is moist. A friend once skipped this step and ended up with a dry, chewy chicken that made everyone ask for a refill.
Layering Flavors Like a Chef
Don’t rush the sauce reduction. Let it simmer gently for at least five minutes; this deepens the umami and allows the honey to caramelize. A quick reduction will leave the sauce thin and underdeveloped.
Spinach’s Secret Role
Adding spinach at the very end keeps it vibrant and prevents it from turning into a mush. Spinach releases moisture, but if added too early, it will dilute the sauce. The result? A glossy, green swirl that’s both beautiful and delicious.
Serving Temperature Matters
Serve the dish immediately while the sauce is still warm. A warm sauce clings to the chicken and vegetables, whereas a cooled sauce will separate and become watery. If you’re plating ahead of time, keep the dish in a warm oven set to 200°F until ready to serve.
Creative Twists and Variations
This recipe is a playground. Here are some of my favorite ways to switch things up:
Asian Fusion Twist
Swap soy sauce with coconut aminos, add a splash of rice vinegar, and sprinkle toasted sesame seeds on top. The result is a nutty, tangy flavor that pairs wonderfully with jasmine rice.
Spicy Sriracha Kick
Replace the red pepper flakes with a tablespoon of sriracha. The heat will be more pronounced, and the sauce will acquire a slightly smoky undertone. This version is perfect for those who love a fiery bite.
Herb Garden Variation
Add fresh basil and mint leaves during the final stir. The herbs infuse the sauce with a bright, aromatic quality that cuts through the richness of the honey.
Low-Carb Marvel
Serve the dish over cauliflower rice instead of regular rice. The cauliflower absorbs the sauce beautifully, creating a low‑carb meal that still feels indulgent.
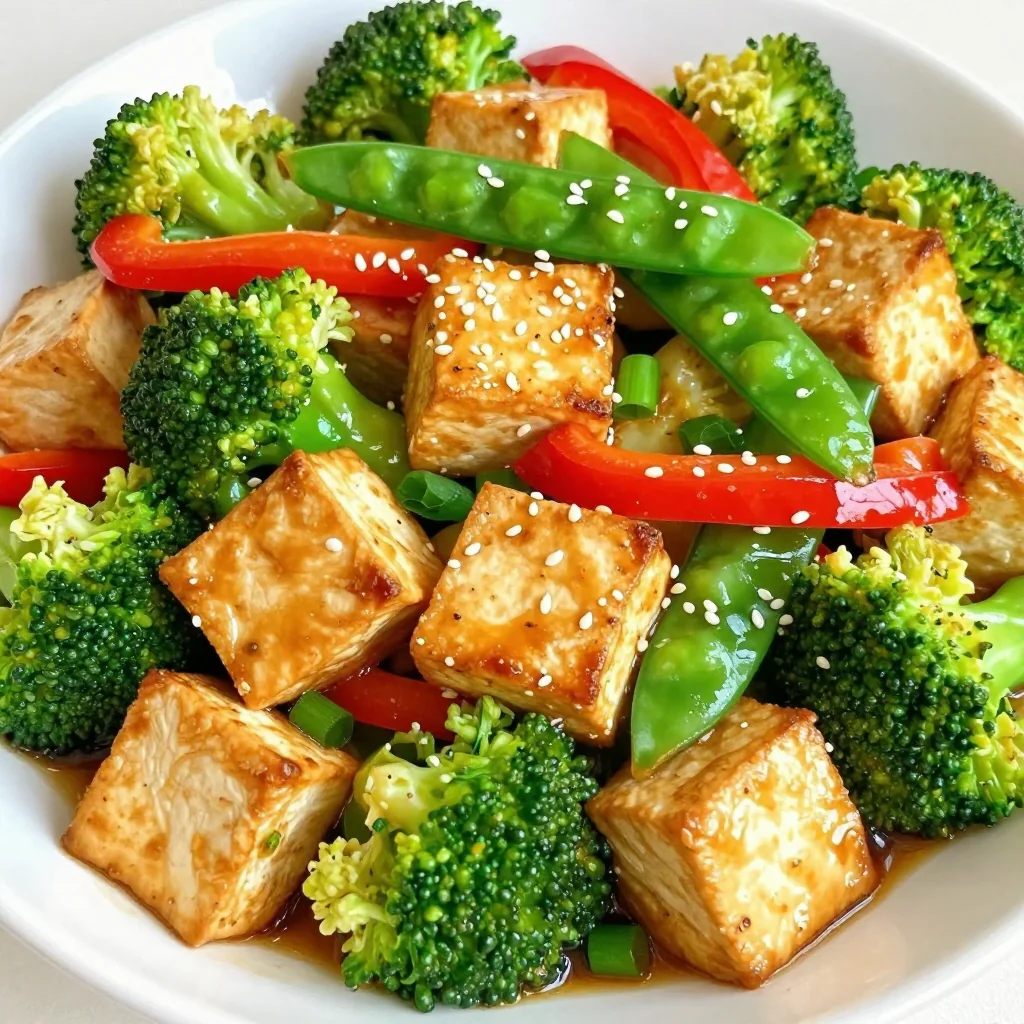
Vegan Version
Replace chicken with tofu or tempeh. Use maple syrup instead of honey and a vegan soy sauce. The tofu will soak up the sauce, delivering a protein‑rich, plant‑based dish.
Breakfast Edition
Serve the chicken and vegetables over scrambled eggs or a fluffy omelet. The savory sauce adds a new dimension to a classic breakfast, making it a hearty start to the day.
Storing and Bringing It Back to Life
Fridge Storage
Store the dish in an airtight container for up to 3 days. Let it cool completely before sealing to prevent condensation. When reheating, add a splash of water or broth to restore moisture.
Freezer Friendly
Freeze portions in freezer‑safe containers for up to 2 months. Thaw overnight in the refrigerator, then reheat gently on the stove with a little water to keep the sauce from drying out.
Best Reheating Method
Reheat on low heat, stirring occasionally, until hot. A quick microwave burst can work, but be careful not to overheat and scorch the sauce. The key is to maintain the sauce’s silky texture.