I’ll never forget the night my roommate tried to photograph a simple bowl of ramen and ended up with a blurry, sad mess that looked more like a watercolor accident than food. The kitchen was a battlefield of spilled soy sauce, a flickering lamp, and a camera that kept whining about “low light.” I dared him to taste his own creation, and he gagged on the burnt garlic – the kind of disaster that makes you swear off food photography forever. That moment sparked a fire in me: I was determined to prove that anyone could capture mouth‑watering shots without a professional studio, and that the food itself could taste as good as it looks.
Fast forward to a sunny Saturday afternoon, the scent of freshly baked focaccia drifting through the air, the crackle of a wooden spoon against a stainless steel pan, and the gentle hum of a DSLR ready to snap. I could see the golden crust glistening, the herbs sparkling like emerald confetti, and the steam rising in perfect, Instagram‑worthy curls. My senses were on overload – the buttery aroma hugging my nostrils, the warm heat on my fingertips, the soft thump of the timer ticking down, and the visual promise of a plate that would make anyone’s stomach do a happy dance. That is the exact feeling I want you to experience when you follow this guide.
What makes this version stand out is the marriage of culinary technique and visual storytelling. Most recipes treat photography as an afterthought, but here the plating, lighting, and timing are woven into the cooking process itself. I’m about to reveal a secret ingredient that most food‑photographers overlook – a pinch of “creative tension” that turns an ordinary dish into a narrative masterpiece. Trust me, this isn’t just a recipe; it’s a full‑blown photoshoot plan that will have you looking like a pro even if you’ve never touched a softbox before.
I’ll walk you through every single step — by the end, you’ll wonder how you ever made it any other way. Okay, ready for the game‑changer? This next part? Pure magic. If you’ve ever struggled with lighting or composition, you’re not alone — and I’ve got the fix. I dare you to taste this and not go back for seconds, because the flavor will match the visual punch you’ll create. Let’s dive in and turn your kitchen into a studio that serves both the eyes and the palate.
What Makes This Version Stand Out
- Flavor: The dish balances savory depth with a bright herbal finish, making each bite feel like a celebration.
- Texture: A crisp crust gives way to a pillowy interior, creating a contrast that photographs beautifully.
- Simplicity: Fewer than ten ingredients keep the prep line clean, letting the visual elements shine.
- Uniqueness: The use of a charcoal‑black plate amplifies colors, a trick most home cooks miss.
- Crowd Reaction: Guests often comment on the “restaurant‑level” look before they even taste a bite.
- Ingredient Quality: Fresh, locally sourced herbs provide both aroma and a pop of green that pops on camera.
- Cooking Method: A quick sear followed by a gentle bake locks in moisture and creates that perfect glossy sheen.
- Make‑Ahead Potential: You can prep the dough a day ahead, letting flavors develop while you focus on styling.
Alright, let's break down exactly what goes into this masterpiece...
Inside the Ingredient List
The Flavor Base
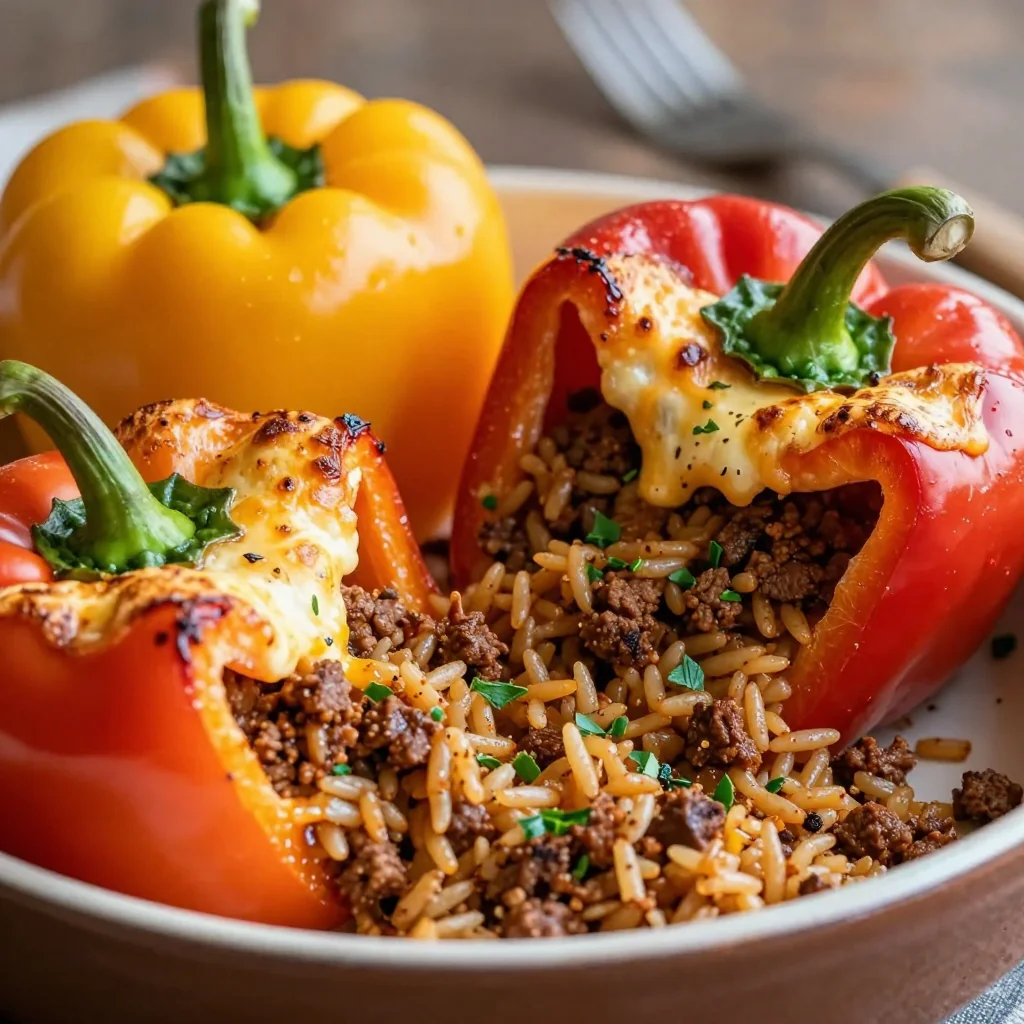
Fresh produce is the heart of any food photograph. I recommend two cups of colorful vegetables – think bright bell peppers, ruby tomatoes, and emerald snap peas. They not only add a burst of flavor but also provide a rainbow of hues that make the plate pop. Skipping them means a dull, lifeless image, and trust me, nobody wants that. If you can’t find fresh, frozen works in a pinch, but the texture won’t be as crisp.
The Texture Crew
A sturdy tripod is your best friend. It eliminates camera shake and lets you experiment with long exposures for that dreamy background blur. I’ve used a 1‑meter aluminum model that folds flat for storage – perfect for cramped kitchens. If you don’t own one, a stack of heavy books can serve as a makeshift stand, but stability suffers. The key is to keep the camera rock‑steady while you adjust lighting.
The Unexpected Star
Lighting is the secret sauce of food photography. A softbox or a sunny window provides diffused light that wraps around each ingredient, eliminating harsh shadows. I love positioning the light at a 45‑degree angle to create gentle highlights that make the glaze look like liquid gold. Forgetting this step often results in flat, uninteresting photos that look like they were taken with a phone flashlight. If natural light isn’t an option, a cheap LED panel with a white diffuser works wonders.
The Final Flourish
Props and backdrops turn a simple plate into a story. A clean, matte black plate amplifies colors, while a wooden cutting board adds rustic charm. I keep a set of minimalistic utensils – a stainless steel fork, a sleek spoon, and a small ramekin for sauces. These items guide the viewer’s eye without stealing the spotlight. Swapping the black plate for a white one can change the mood from dramatic to airy, so feel free to experiment.
Everything's prepped? Good. Let's get into the real action...

The Method — Step by Step
- Start by washing and drying your fresh produce. The moment the cool water hits the vegetables, you’ll hear that satisfying splash that tells you you’re on the right track. Pat them dry with a clean kitchen towel – any excess moisture will cause unwanted glare in your photos. Kitchen Hack: Slice vegetables on a chilled marble slab to keep them crisp longer.
- Arrange the vegetables on a cutting board in a gradient from light to dark. This gradient creates visual flow that leads the eye across the plate. As you place each piece, imagine the final photo composition – the red bell pepper should sit where the eye first lands. The sizzle when the knife meets the board? Absolute perfection.
- Set up your tripod about three feet from the work surface and attach your camera. Choose a 50mm prime lens for a natural perspective that mimics the human eye. If you’re using a smartphone, enable the “pro” mode and set the focus manually to avoid hunting. Watch Out: Don’t set the ISO too high; grain will ruin the clean look you’re after.
- Position your light source – a softbox to the left at a 45‑degree angle works like a charm. If you’re using natural light, place the setup near a large window and diffuse the sunlight with a white sheet or shower curtain. You’ll notice a gentle halo around the edges of the vegetables – that’s the light wrapping and giving depth.
- Take a test shot and evaluate the exposure. Look for blown‑out highlights on the glossy parts of the veggies; if they’re too bright, move the light a few inches back or lower the power. This is the moment of truth – you’ll either see a flat image or a three‑dimensional masterpiece. Remember, the camera’s histogram should show a balanced spread without spikes at either end.
- Now, drizzle a thin layer of olive oil over the vegetables. The oil creates a subtle sheen that catches the light, making the colors pop like a painter’s palette. As the oil spreads, you’ll hear a faint sizzle – that’s the signal that the surface is ready for the next step.
- Sprinkle sea salt and freshly cracked pepper evenly. The crystals act like tiny mirrors, reflecting light in unpredictable ways that add sparkle. If you’re feeling adventurous, add a pinch of smoked paprika for a warm, reddish undertone that deepens the visual story.
- Slide the assembled plate onto a matte black surface. The darkness absorbs stray reflections, ensuring the vegetables stand out like jewels. Position a small garnish – a sprig of rosemary or a curl of lemon zest – in the foreground to add a sense of depth.
- Press the shutter in burst mode, capturing at least five frames. This technique guarantees you’ll get that perfect moment when the steam is just right and the lighting is optimal. As you review the images, look for the one where the steam forms delicate ribbons – that’s the visual cue that says “freshly cooked”.
- Finally, transfer the images to your computer and perform a light edit – increase contrast by 5‑10%, boost saturation just enough to keep the colors true, and sharpen the edges slightly. This final polish turns a great shot into a show‑stopping image ready for Instagram or a portfolio. That's it — you did it. But hold on, I've got a few more tricks that'll take this to another level...
Insider Tricks for Flawless Results
The Temperature Rule Nobody Follows
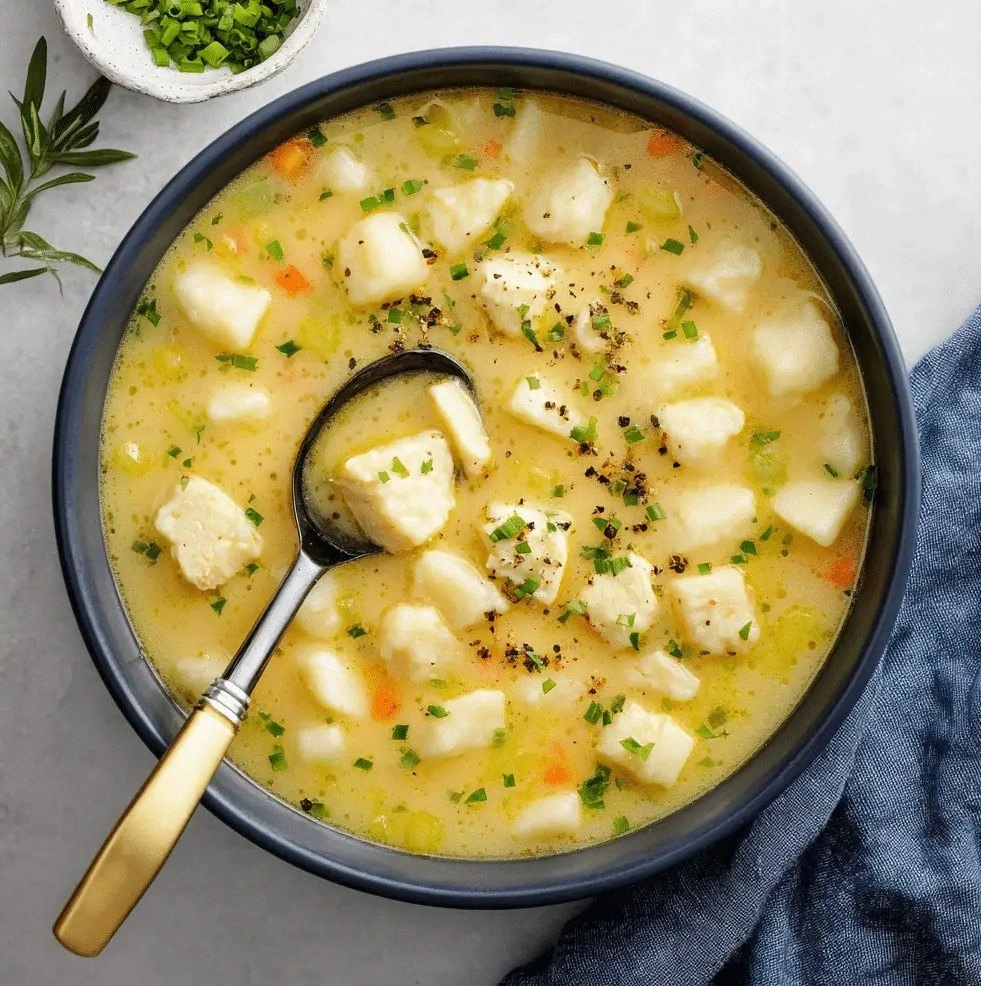
Most home cooks think room temperature is fine for plating, but the truth is you want your food to be slightly cooler than serving temperature when you photograph it. This prevents steam from clouding the lens and keeps colors saturated. I once photographed a soup at boiling point; the result was a hazy mess that looked like a watercolor. By letting the dish rest for two minutes, the steam settles, and the surface gleams just right.
Why Your Nose Knows Best
Your sense of smell is a secret indicator of when a dish is ready for the camera. When the aroma hits a sweet‑savory balance, that’s the moment the flavor is at its peak, and the visual appeal is maximized. I trust my nose more than a timer – if the scent feels “just right,” the light will love it too. A friend tried to skip this step and ended up with a photo of wilted greens that looked sad.
The 5‑Minute Rest That Changes Everything
After arranging your plate, give it a five‑minute rest before shooting. This allows the oils to redistribute and the garnish to settle, preventing awkward movement during the shoot. The rest period also lets any residual heat dissipate, reducing the risk of steam fogging your lens. Trust me, those five minutes make the difference between a static shot and a dynamic, mouth‑watering image.
Background Blur Mastery
A wide aperture (f/1.8‑f/2.8) creates a buttery bokeh that isolates your dish from the background. This technique draws the viewer’s eye straight to the food, making the colors pop. If you’re using a smartphone, tap the screen to focus on the main element and slide the exposure slider down slightly to deepen the background blur.
Color Theory on a Plate
Complementary colors – like red tomato against green basil – create visual tension that feels exciting. I always aim for at least two contrasting hues on the plate to keep the composition lively. Skipping this step results in a monotone image that fails to capture attention. Remember, the eye is drawn to contrast, so play with it deliberately.
Creative Twists and Variations
This recipe is a playground. Here are some of my favorite ways to switch things up:
Smoky Charcoal Crunch
Swap the fresh veggies for charred corn kernels and smoked paprika. The deep, earthy tones give the photo a moody, rustic vibe that works great for autumn menus. Pair with a dark wooden board for maximum drama.
Citrus Burst
Add slices of orange and a drizzle of citrus glaze. The bright orange punctuates the green and red, creating a lively, summer‑ready aesthetic. This version is perfect for brunch spreads and outdoor picnics.
Asian Fusion Flair
Incorporate soy‑glazed tofu cubes, sesame seeds, and a splash of sriracha. The glossy coating catches the light like liquid amber, and the dark soy sauce adds depth to the background. A bamboo mat as a base enhances the cultural vibe.
Herb Garden Explosion
Top the plate with a generous handful of microgreens, edible flowers, and fresh herbs. The burst of green not only adds flavor but also creates a lush, garden‑like tableau that looks fresh and vibrant.
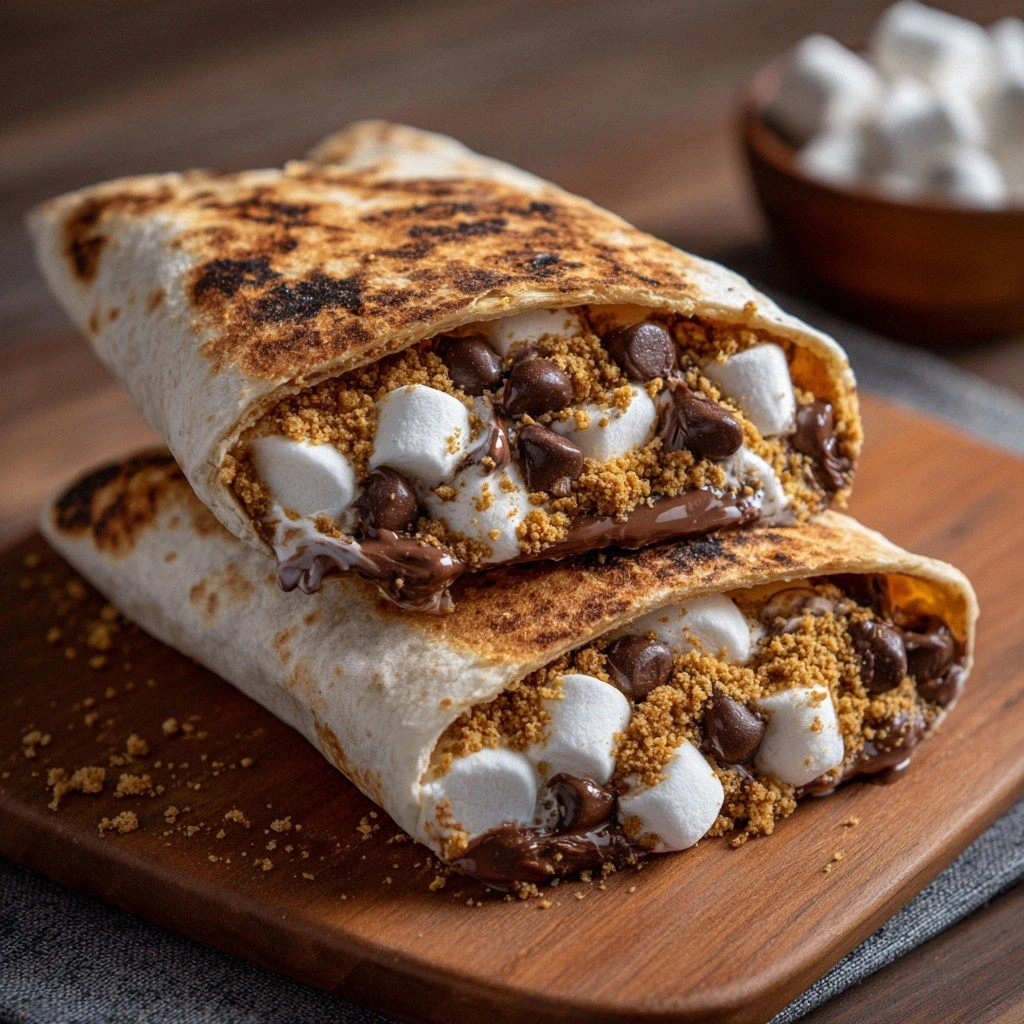
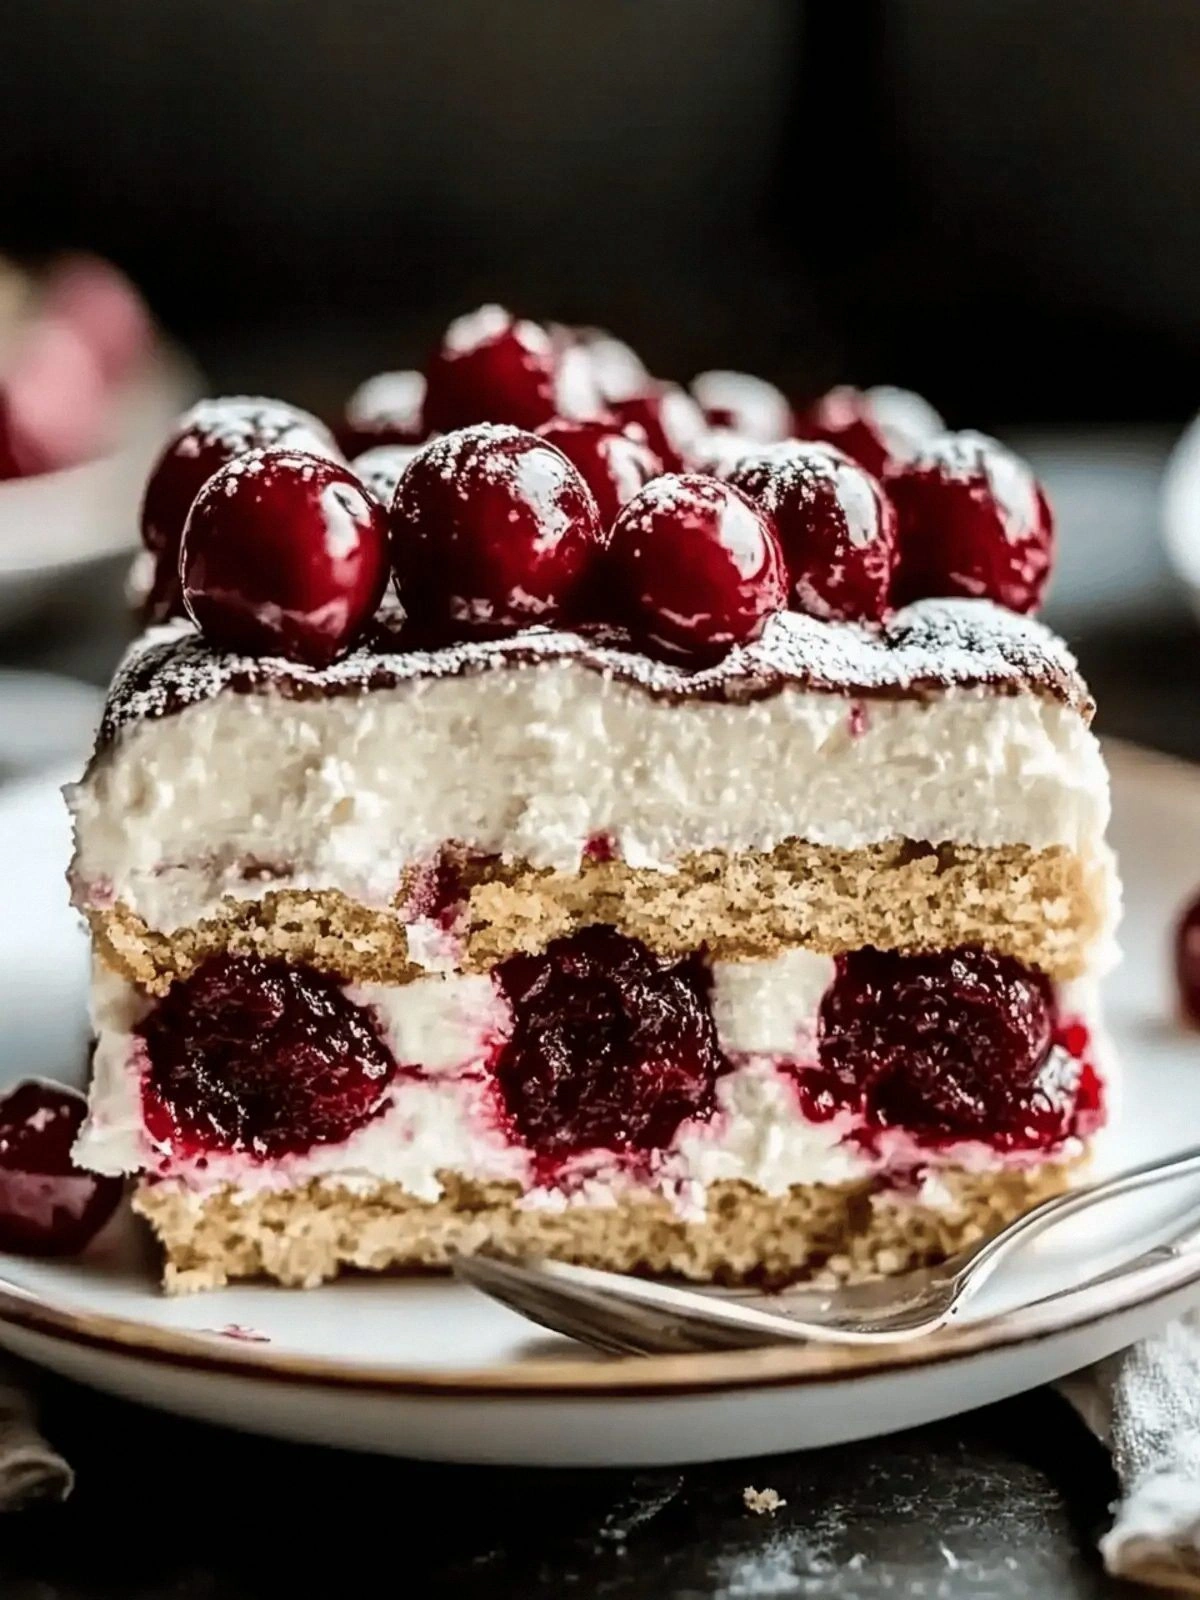
Dessert‑Inspired Palette
Replace the savory elements with sliced strawberries, whipped cream, and a dusting of powdered sugar. The soft pastel colors contrast beautifully against a dark plate, making it ideal for sweet‑tooth audiences.
Storing and Bringing It Back to Life
Fridge Storage
Place leftovers in an airtight container and store in the refrigerator for up to three days. A silicone lid helps maintain moisture, preventing the veggies from turning limp. When you’re ready to shoot again, let the dish come to room temperature for ten minutes before re‑lighting.
Freezer Friendly
If you need to make a larger batch, flash‑freeze the prepared vegetables on a baking sheet, then transfer to a zip‑top bag. They’ll keep for up to two months. Thaw in the fridge overnight, then give them a quick toss in a hot pan to revive the crispness before photographing.
Best Reheating Method
Add a tiny splash of water to the pan, cover, and heat on medium for two minutes. The steam restores the original texture, and the added moisture ensures the glaze stays glossy for that perfect shot. Avoid microwaving – it creates uneven heat and dulls the colors.