It started with a kitchen disaster that was almost a crime scene. I had just baked a batch of classic cheesecake and, in a fit of culinary bravado, decided to give it a “pull‑apart” twist. The result? A gooey mess that looked more like a melted candy cane than a dessert. But the aroma—sweet, tangy, and a hint of citrus—was irresistible, and the first bite felt like a carnival ride for the palate. That moment of triumph turned into a dare: “I bet you can’t make a better pull‑apart cheesecake than this.” I laughed, grabbed my apron, and set the clock. The kitchen was filled with the sound of whisking, the clink of spoons, and the faint hiss of the oven preheating. If you’ve ever felt that delicious dread before a new recipe, you know exactly what I’m talking about. The scent of fresh raspberries and cream cheese mingled with the warm, buttery crust, creating a sensory experience that was both comforting and daring. The texture was a paradox: a light, airy base that gave way to a dense, silky filling that clung to the forks like velvet. The colors were a striking contrast of deep red and pale cream, a visual promise of the flavor explosion to come. The sound of the first bite—crunch from the crust, a soft sigh from the filling—was music to my ears. This isn’t just a dessert; it’s a conversation starter, a party trick, and a delicious secret you’ll want to share with everyone. I was so proud, I almost ate half the batch before anyone else could taste it. That’s how I knew I had to share this recipe with the world. Let me walk you through every single step — by the end, you’ll wonder how you ever made it any other way.
What Makes This Version Stand Out
- Flavor: The balance of sweet, tart, and citrus is engineered to hit every taste bud simultaneously. The raspberry puree is pure, not syrupy, and the lemon zest adds a bright lift that cuts through the richness.
- Texture: The pull‑apart design creates a satisfying crackle when you bite, while the interior remains silky and almost mousse‑like. The crust is buttery and crisp, yet tender enough to support the filling without crushing it.
- Simplicity: Despite its fancy name, the recipe uses only a handful of pantry staples plus fresh berries. No obscure ingredients, no special equipment—just a good mixer and a spring‑form pan.
- Uniqueness: The candy cane crunch, hidden in the crust, gives a subtle holiday twist that can be swapped for other seasonal treats. It’s the kind of detail that turns a good dessert into a showstopper.
- Audience: Whether you’re a novice or a seasoned baker, this recipe is approachable. The pull‑apart concept is simple, and the instructions are clear enough that even a first‑timer can nail it.
- Ingredient Quality: Using high‑quality cream cheese and fresh raspberries ensures depth of flavor that store‑bought mixes can’t match. The difference is unmistakable.
- Make‑Ahead Friendly: The cheesecake can be assembled and chilled for up to 48 hours, making it perfect for parties and last‑minute gatherings.
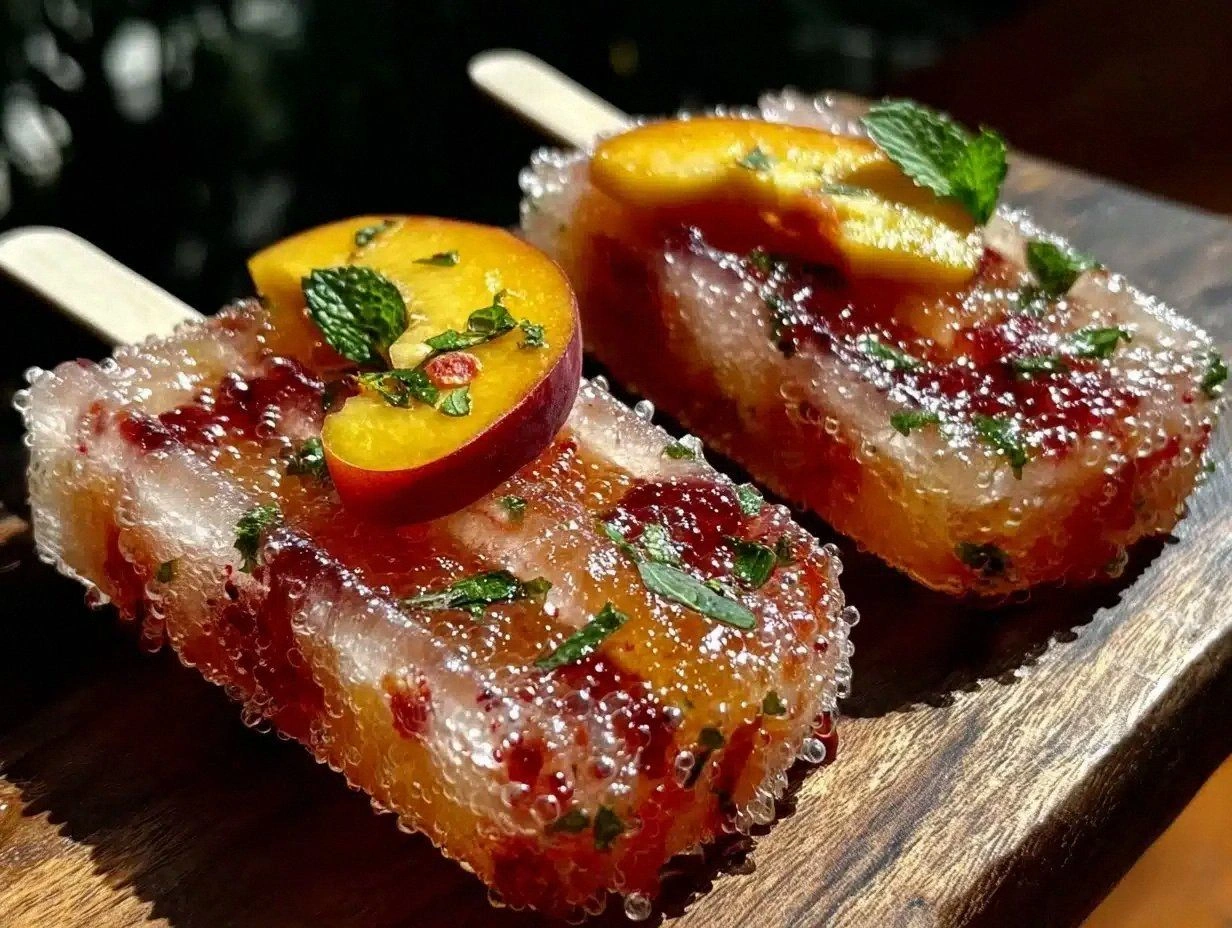
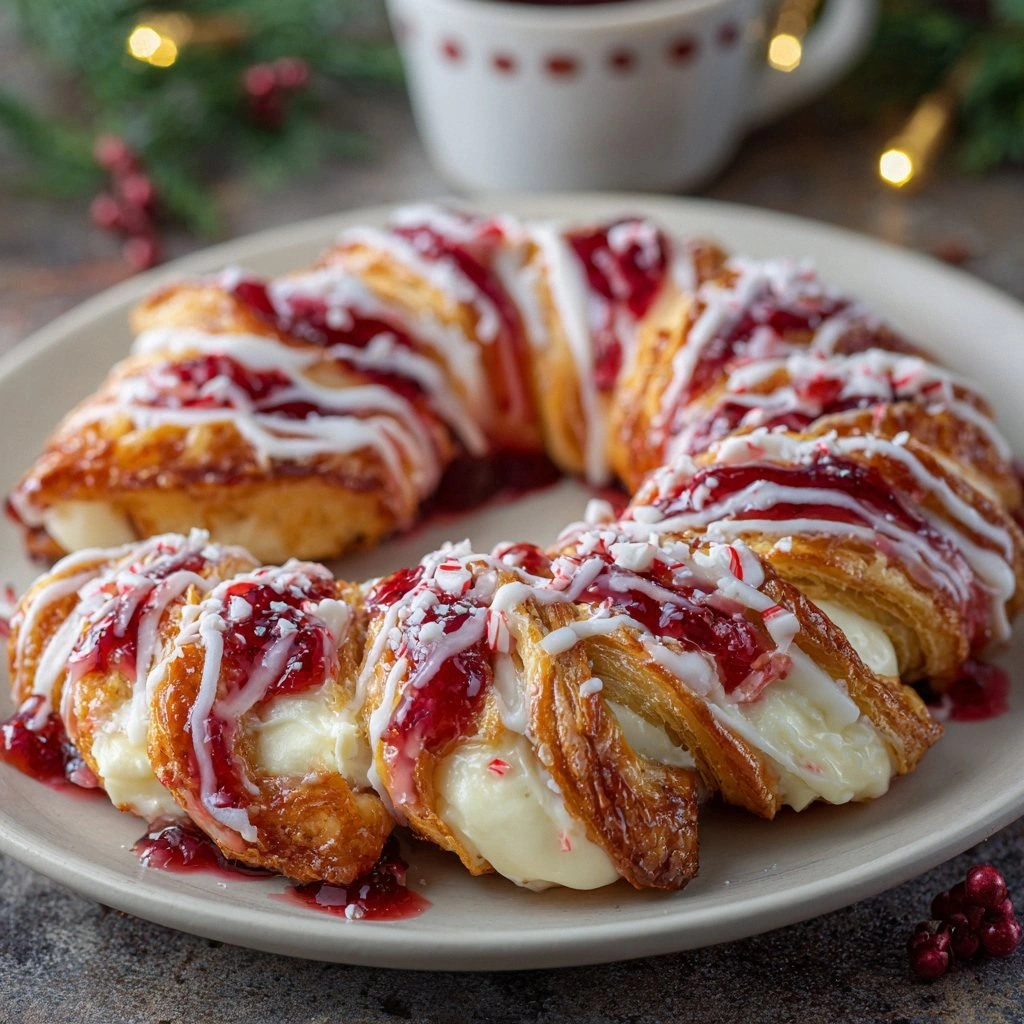
- Presentation: The final product slices like a candy cane, revealing a rainbow of colors. It’s Instagram‑ready and will make your followers jealous.
Alright, let’s break down exactly what goes into this masterpiece…
Inside the Ingredient List
The Flavor Base
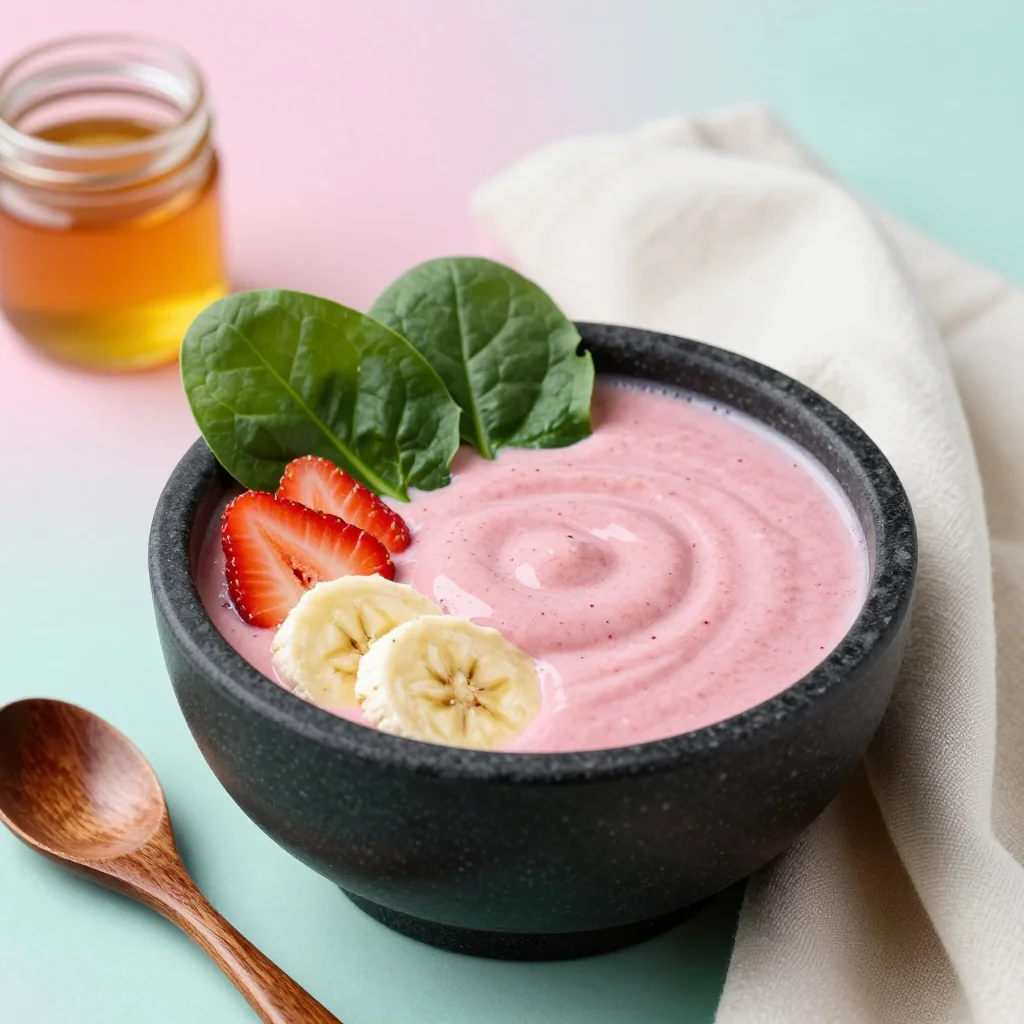
Cream cheese is the backbone of any cheesecake, but in this version we double the amount to 4 packages. That extra bulk gives the filling a richer, more decadent mouthfeel. If you skip it, the result will be a thin, watery filling that won’t hold its shape. For a lighter option, you could substitute a portion with Greek yogurt, but be prepared for a tangier taste. The key is to keep the cream cheese at room temperature so it blends smoothly.
Granulated sugar is essential for sweetness, but we also incorporate powdered sugar for the glaze. The powdered sugar dissolves quickly, creating a silky finish that coats the surface like a fine dusting of snow. If you prefer a lower‑sugar version, try using a sugar substitute that measures the same volume, such as erythritol or xylitol. Remember that sugar substitutes can change the texture, so adjust the liquid ratios accordingly.
The Texture Crew
Eggs are the glue that holds the cheesecake together. Four large eggs give the filling enough structure to set without becoming rubbery. If you’re worried about cholesterol, use 2 egg whites and 2 yolks—this will keep the texture intact while reducing fat content. Sour cream adds a subtle tang and a creamy texture that balances the sweetness. It also helps keep the filling moist after baking, preventing it from drying out. If you can’t find sour cream, plain Greek yogurt works as a one‑to‑one replacement.
The graham cracker crumbs form the crunchy base. They provide a sweet, buttery foundation that complements the creamy filling. The melted butter coats the crumbs, helping them bind together. A pinch of salt is added to the crust to enhance flavor; if you prefer a salt‑free version, simply omit it. The crumb mixture is pressed into a spring‑form pan and baked briefly before adding the filling. This step ensures the crust is firm enough to support the pull‑apart design.
The Unexpected Star
Raspberry puree is the star of the show. It infuses the filling with a bright, natural sweetness that cuts through the richness of the cream cheese. Use fresh raspberries if they’re in season; otherwise, frozen berries work fine as long as you thaw and drain them well. The puree should be smooth, free of seeds, and thick enough to maintain color. If you prefer a sweeter taste, you can add a tablespoon of honey or maple syrup, but be cautious not to overdo it. The puree also adds a burst of color, making each slice look like a jewel.
The Final Flourish
Lemon zest is the subtle finishing touch that brightens the entire dish. It adds a citrusy aroma that balances the sweetness without overpowering it. Vanilla extract provides depth and warmth, making the flavors feel cohesive. The powdered sugar glaze adds a sweet finish that’s silky on the tongue. Fresh raspberries on top serve as a garnish and add a pop of color. If you want to get creative, sprinkle crushed candy cane on the crust before baking for a festive crunch. That candy cane crunch is optional but highly recommended for a holiday twist.
Everything’s prepped? Good. Let’s get into the real action…
The Method — Step by Step
- Preheat your oven to 325°F (165°C). Line a 9‑inch spring‑form pan with parchment paper, leaving a small overhang for easy removal. Grease the parchment lightly with butter or non‑stick spray. This step ensures the cheesecake won’t stick to the pan, and it makes the cleanup a breeze. The parchment also adds a subtle texture to the crust.
- In a medium bowl, combine the graham cracker crumbs, melted butter, and 1/4 cup sugar. Stir until the mixture resembles wet sand. Press the crumb mixture firmly into the bottom of the prepared pan, using the back of a spoon or a flat glass to create an even layer. Bake the crust for 8 minutes, then remove from the oven and let it cool while you prepare the filling. The crust should be golden and firm, not soggy.
- In a large mixing bowl, beat the softened cream cheese on medium speed until smooth and fluffy. Add 1 cup of granulated sugar and continue beating until the mixture is light and airy. This step incorporates air, giving the cheesecake a lighter texture. If the mixture looks lumpy, blend for a few more seconds to ensure uniformity.
- Add the eggs one at a time, beating on low speed after each addition until fully incorporated. Do not over‑beat; the goal is to blend the eggs into the cream cheese without creating a frothy mixture. This technique prevents the cheesecake from cracking during baking. Once all eggs are added, fold in the sour cream, raspberry puree, lemon zest, and vanilla extract. The filling should be a silky, homogeneous batter.
- Pour the batter over the cooled crust, smoothing the top with a spatula. Tap the pan gently on the counter to release any air bubbles. The batter should be level and smooth. This ensures an even bake and prevents uneven rising.
- Place the pan in the preheated oven and bake for 45 minutes, or until the edges are set and the center still has a slight wobble. The top will be lightly browned, but it should not be too dark. This is the moment of truth—watch the color and feel the texture. If the cheesecake starts to brown too quickly, cover it loosely with aluminum foil.
- Turn off the oven and leave the cheesecake inside with the door slightly ajar for 1 hour. This gradual cooling prevents the cheesecake from cracking. The residual heat will finish the setting process and lock in the silky texture. After 1 hour, remove the pan and let the cheesecake cool completely on a wire rack.
- Once cooled, refrigerate the cheesecake for at least 4 hours, preferably overnight. This chilling step allows the flavors to meld and the texture to firm up, making it easier to slice. When ready to serve, run a knife around the edges to release the spring‑form pan, then remove the parchment and slice. Each slice should look like a candy cane, revealing a vibrant ribbon of raspberry.
That's it — you did it. But hold on, I've got a few more tricks that'll take this to another level…
Insider Tricks for Flawless Results
The Temperature Rule Nobody Follows
Many bakers bake cheesecakes at 350°F, but the lower temperature of 325°F is crucial for even cooking. The gentle heat allows the center to set without overcooking the edges, preventing cracks. If you’re using a different oven, adjust the temperature by 10°F and monitor the bake closely. The key is to keep the center slightly jiggly; this ensures a creamy texture once chilled.
Why Your Nose Knows Best
Before you pull the cheesecake out of the oven, give it a quick sniff. A faint, buttery aroma indicates the crust is ready, while a sharp, tangy smell suggests the filling is perfectly set. Trust your nose; it’s a reliable indicator of doneness that even the most seasoned chefs use. If you’re uncertain, touch the top gently—if it’s still slightly cool, it needs more time.
The 5‑Minute Rest That Changes Everything
After removing the cheesecake from the oven, let it sit on the counter for 5 minutes before cooling. This brief rest allows the heat to redistribute evenly, preventing the edges from overcooking. It also gives the batter a chance to firm up slightly, making slicing easier. A quick rest also helps the flavors settle, giving you a more cohesive taste profile.
The Secret Ingredient Swap
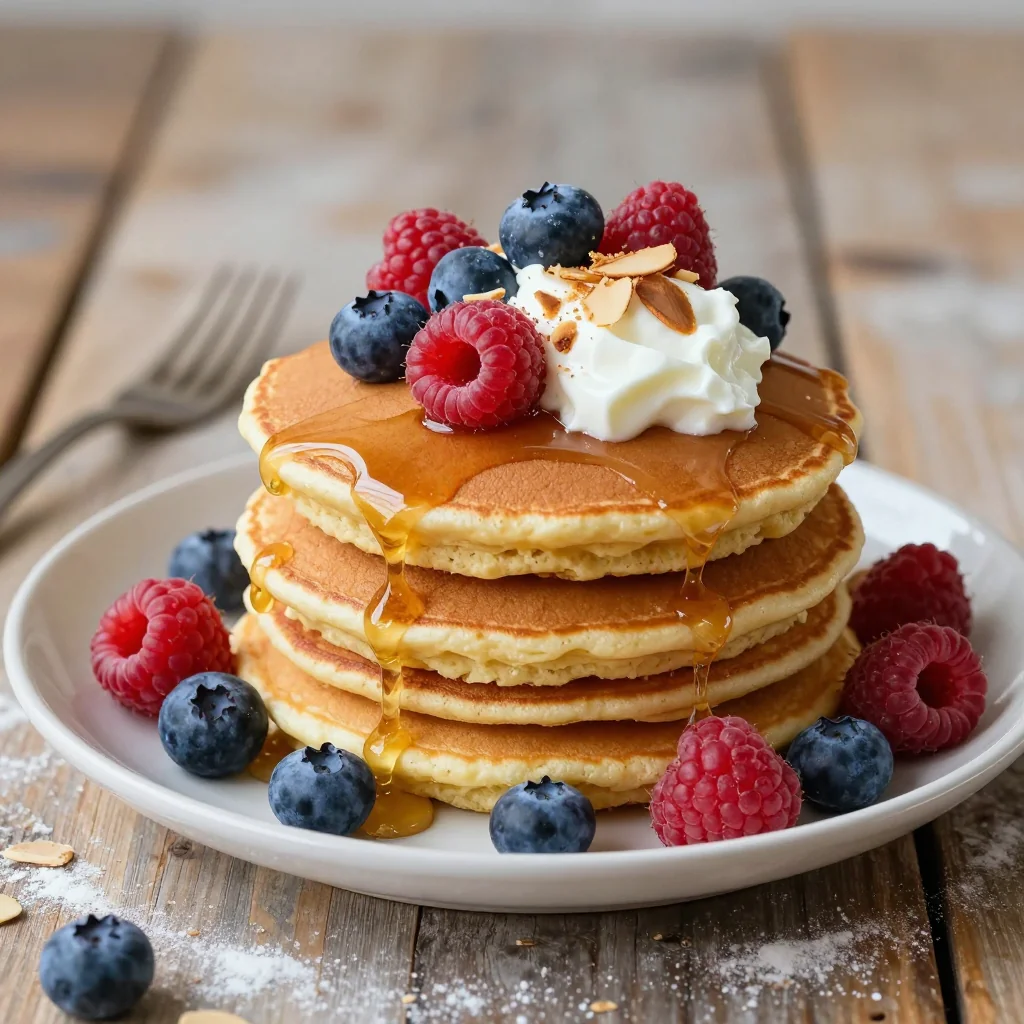
If you’re feeling adventurous, swap the raspberry puree for a swirl of blueberry or strawberry puree. The method stays the same, but the flavor profile changes dramatically. This swap keeps the recipe fresh and exciting, especially during the summer months when berries are abundant.
The Finish Line
Once chilled, drizzle a simple glaze made from powdered sugar and a splash of lemon juice over the top. This glaze adds a glossy finish and a tangy bite that cuts through the richness. If you’re presenting it at a dinner party, garnish with fresh berries and a sprig of mint for a touch of elegance.
These insider tricks are the difference between a good cheesecake and a showstopping dessert. Trust me, once you master these nuances, you’ll never look back.
Creative Twists and Variations
This recipe is a playground. Here are some of my favorite ways to switch things up:
Chocolate Raspberry Pull‑Apart
Add 1/4 cup of melted dark chocolate to the batter for a rich, bittersweet twist. The chocolate pairs beautifully with the tartness of the raspberries, creating a layered flavor experience that chocolate lovers will adore.
Minty Fresh Pull‑Apart
Stir in 1 tablespoon of fresh mint leaves, finely chopped, into the batter. The mint adds a refreshing kick that balances the sweetness, making it perfect for a summer gathering.
Caramelized Banana Pull‑Apart
Fold in 1/2 cup of caramelized banana slices before baking. The banana’s natural sweetness and caramel notes complement the raspberry, while adding a delightful chewy texture.
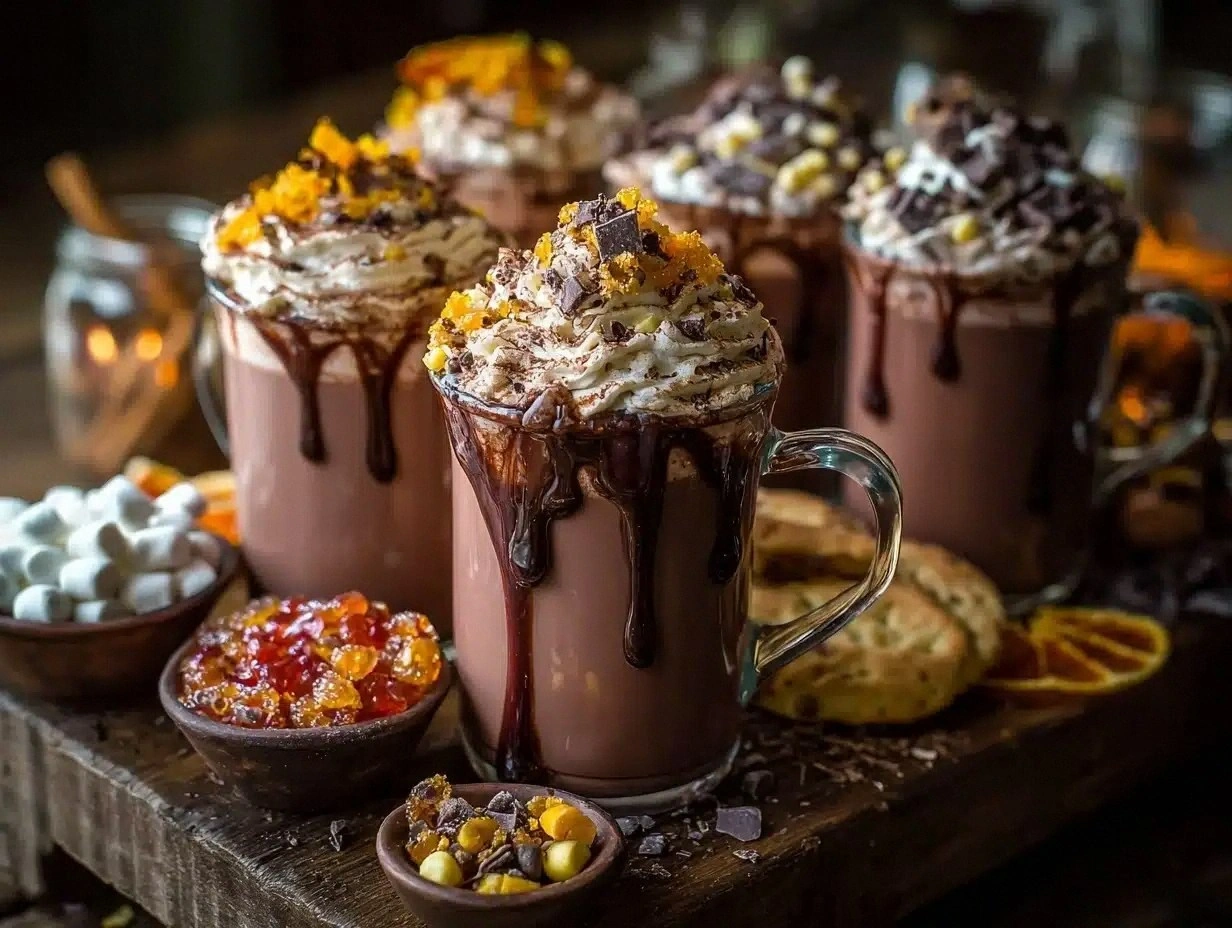
Coffee‑Infused Pull‑Apart
Replace the vanilla extract with 1 tablespoon of strong espresso. The coffee depth cuts through the creaminess, creating a sophisticated flavor that pairs well with a glass of dessert wine.
Citrus Burst Pull‑Apart
Add 1 tablespoon of orange zest and a splash of orange liqueur to the batter. The citrus brightens the dish and adds a subtle complexity that makes it stand out at holiday parties.
Storing and Bringing It Back to Life
Fridge Storage
Store the cheesecake in an airtight container in the refrigerator for up to 4 days. If you want to keep the fresh raspberry garnish, place it on top of the cheesecake before sealing the container. The cheesecake will stay moist and flavorful, ready to serve whenever the craving strikes.
Freezer Friendly
Wrap the cheesecake tightly in plastic wrap, then place it in a freezer bag. It can be frozen for up to 2 months. When you’re ready to enjoy it, thaw in the refrigerator overnight. The texture may be slightly denser after freezing, but the flavor remains intact.
Best Reheating Method
To warm the cheesecake, preheat your oven to 300°F (150°C). Place the cheesecake in a baking dish, cover loosely with foil, and heat for 10–12 minutes. After removing from the oven, let it sit for a few minutes before slicing. Add a tiny splash of water to the pan before reheating; it steams the cheesecake back to perfection, restoring its silky interior.